| « Wiring Smoke Detectors | Adding Smoke Detectors » |
How to Wire Smoke Detectors
|
By Dave Rongey
Summary: How to Install and Wire Smoke Detectors - Installation Guide with Photos that clearly explain how Interconnected Smoke Detectors are wired so they function properly. © By: Dave Rongey |
Home Smoke Detector and Heat Alarms Overview and Information
Carbon Monoxide (CO) Alarms
CO Alarms are recommended near bedrooms and sleeping areas where they can wake sleeping residents.
Additional CO alarms are recommended 5-20 feet from sources of CO such as a furnace, water heater or fireplace.
Alarms can alert you to a problem only after smoke or CO reach their sensors.
Choose locations free of obstructions, where the alarm will stay clean and protected from adverse environmental conditions.
Smoke Alarms Resources:
Smoke Detectors and Alarms
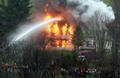
Help Save Lives and Reduce Structural Destruction!
Studies show that smoke alarms save more lives than any other fire prevention measure. Smoke alarms provide the earliest warning of both fire and smoke.
Smoke Alarms
In a typical home fire, occupants have just minutes to escape. And because smoke in one area may not reach a smoke alarm in another, the National Fire Protection Association (NFPA) recommends placement of at least one smoke alarm on every level of the home (including basements) and/or in every bedroom or sleeping area. The NFPA also recommends interconnection of alarms to provide better whole-home protection than stand-alone alarms. Photoelectric smoke alarms respond to slow burning, visible smoke caused by smoldering fires. Well suited for use in kitchens and near baths, they are less susceptible to nuisance alarms caused by cooking or high humidity.
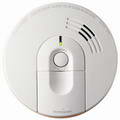
Combination Smoke/CO Alarms
A combination Smoke/CO Alarm makes it easy to provide both types of protection throughout the home. A combination alarm installed on every level of the home is an excellent way to ensure maximum protection for occupants, with a minimum of installation effort.Heat Alarms
In some areas of the house, it is important to use a heat alarm that senses fire by air temperature, rather than a smoke alarm that senses particles in the air. The installation of heat alarms in attics (finished or unfinished), furnace rooms or garages is recommended, since these locations occasionally experience conditions that can result in improper operation of smoke alarms. Most UL approved heat alarms are designed to alarm when presented with a certain temperature at the alarm. They will not react to smoke and should not be used to replace smoke alarms, but as a supplement to a complete smoke alarm system.

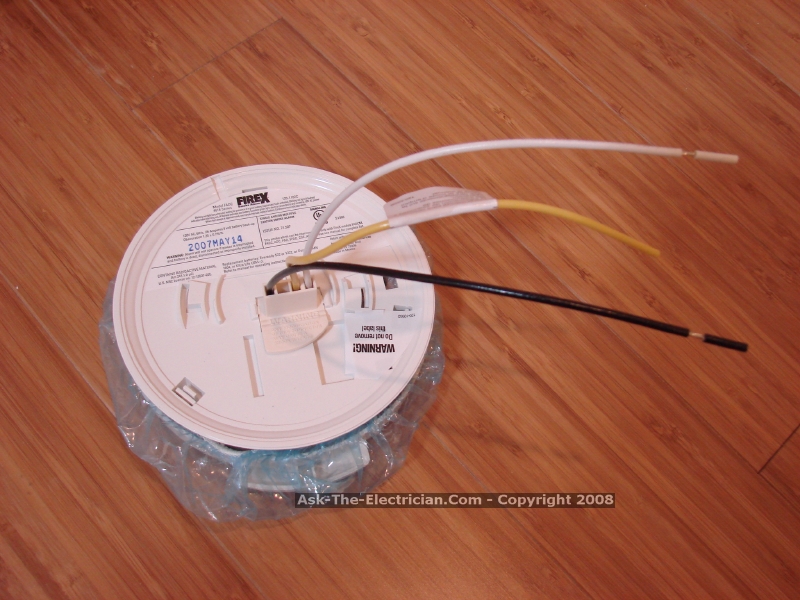
[Click image to enlarge]
Lets take a look at some photos of recent projects that I have selected
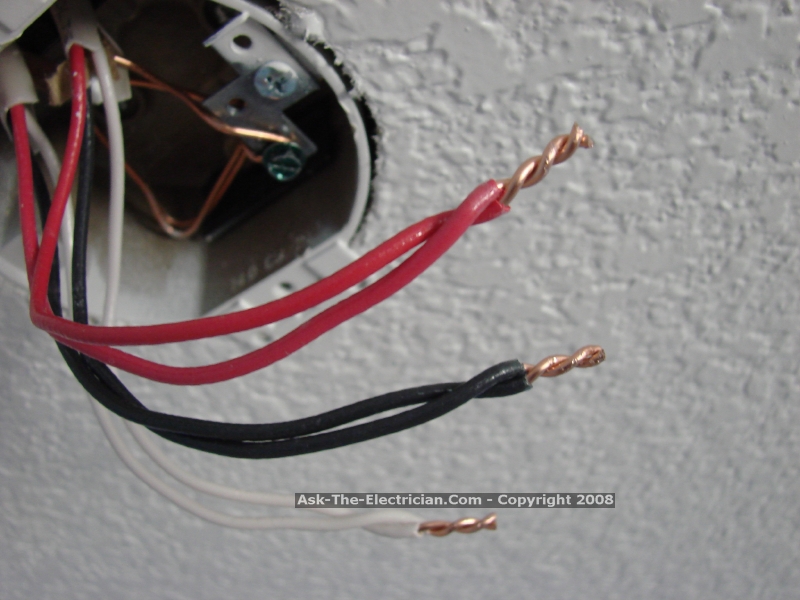
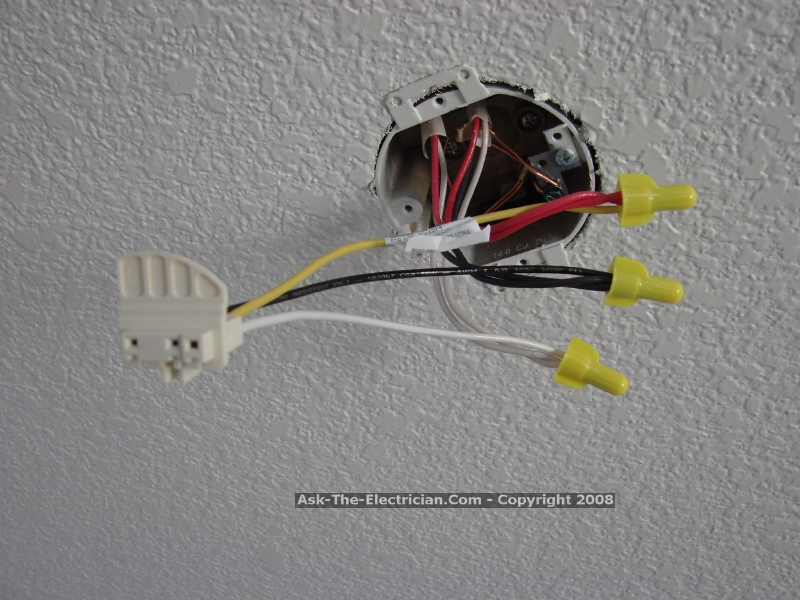
A typical construction project will require a smoke detector in each bedroom and on the ceiling or wall at a point centrally located in the area giving access to bedrooms such as hallways. Mount smoke detectors at least 4 inches from wall or on the wall with the top of the detector within 4 inches and 12 inches of the highest point of the ceiling. In multi-story units there shall be a detector at each level and shall be placed at the center of the ceiling 24 inches or more higher than the hall are required to have a smoke detector on the hall ceiling and in the bedroom. In new construction when more than one smoke detector is required to be installed within an individual dwelling, the detectors shall be interconnected by installing the electrical wiring in such a manner that the actuation of one alarm will activate all of the alarms in the dwelling.
to help you see how its done.
A 3-wire romex is installed to each location linking the detectors together. For new installations a size 14-3 can be used. Even though most detectors do not require a ground, always install and bond the ground conductors together. |
||
 |
 |
 |
|---|---|---|
 |
 |
|
 |
 |
 |
 |
 |
 |
 |
 |
 |
 |
 |
 |
|
||||||||||

|