» Home
» Electrical Wiring Directory
» How to Splice Electrical Wires
» Need Electrical Help? Ask the Electrician
» Need Electrical Help? Ask the Electrician
Electrical Repairs - Part 2
 |
Summary:
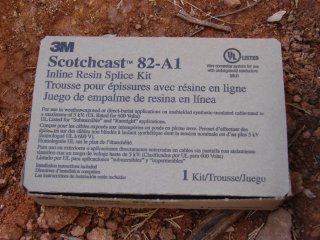
The Scotch Cast repair kit provides maximum protection for the electrical wiring repairs and moisture proofing for direct burial electrical cable. This kit is available in a wide variety of sizes for several applications.
© By: Dave Rongey |
Features using the 3M Scotchcast for Electrical Repair of Cables
CAUTION: Identify your Power Source and make SURE the Power is OFF!
Ground Repair for Electrical Cables
Here is a quick overview of electrical-wiring repairs using the Scotch Cast Repair Kit.
Electrical Repairs using the 3M Scotchcast Kit |
|
 |
 |
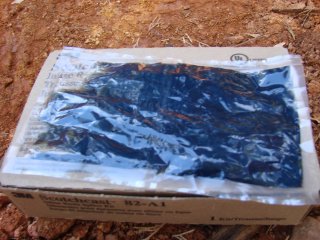
| The Scotchcast repair kit comes as a complete kit. This type of kit is ideal for performing an inline cable-repair where there may not be a lot of slack in the cable. | This kit uses resin as a protective enclosure to keep the cable repair dry and safe from damage. Once the repair is ready the resins are mixed together. |
| Position the individual wires so that the wire connectors can be staggered so they don't take up too much room inside the enclosure. |   |
 |
Once the wires are positioned the two halves of the enclosure are placed together. Notice that the wires pass straight thorough the enclosure openings at each side. The kit comes with rubber tape to wrap around the ends of the enclosure to prevent the resin from escaping. I have also wrapped the enclosure with electrical tape as well. Two plastic funnels are inserted into the openings at the top of the enclosure. After mixing the two resins together according to the instructions, a corner is torn away and the resin mixture is poured into the protective cable repair enclosure. The two openings help to fill the enclosure and allow the air to leave the enclosure. |
| Once the resin mixture has filled the enclosure I wrap electrical tape across the openings to close up the enclosure. As the resin cures the enclosure will warm up until the drying time is complete. |
|
|
||||||||||


